Your Cart is Empty
Please Allow 7 Business days for personalised items
DIY Pet Poo Composter
May 08, 2014 3 min read

Make your own super cheap pet poop garden composter. Say good bye to a garden full of poop!
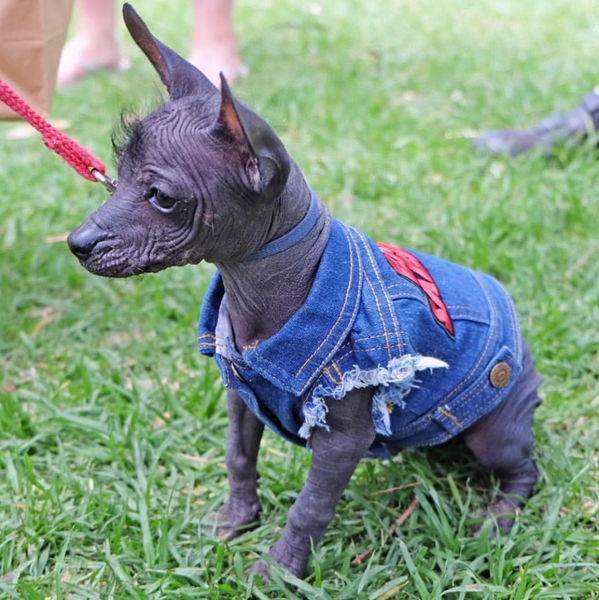
We already had two cats when we first got Willie pup, and with a small inner city flat and tiny back yard we were a bit worried about our lovely outdoor area turning into doggy do do land!
So here is what we did to solve the poopie problem for good and make some awesome fertiliser for our (non edible) plants.
Difficulty level - easy peasy
Cost - between $0 to $30
Time - 1.5 hours.
Materials
- Plastic garbage bin with lid that seals
- Small amount of gravel and or sand (We stole some from the neighbours gravel driveway! Shhh)
- Some dirt and or compost.
- Activated Enzymes ( you can pick these up from your supermarket or hardware store for around $10 - $20)

Tools
- Drill with large drill bit
- Spade
Steps
1. Before you go out and purchase your bucket, choose a spot in your garden. Try to find somewhere that gets some sun to warm the compost and it's probably a good idea to have it away from eating areas but to be honest we get no smell from ours. Other things to consider are that you should never have your pet poo compost in a vege garden or edible garden as pet poo will contaminate your food. Having said this it makes fantastic compost for your other plants so a great spot would be in your flower garden!
2. Check the depth of your garden bed. In our case we live in the city so our bed was very shallow at only 80 cm deep. The deeper your area the better, this will determine the size of the plastic bin you can buy. Bigger is better. When you buy your bin make sure that only a small amount of the bin will protrude from the soil with the lid on top so that your compost is well hidden in the garden.
3. Now you've got your bin, dig your hole. This is the only sucky bit really. No one except the dog likes digging holes. Use your bin to check the circumference of your hole and be sure not to dig deeper than the height of your bin minus a couple of inches. (you need the bin to stick out the hole a little bit)

4. The fun bit! Drill some holes! You need to remove the base of your plastic bin. To do this drill holes close together the entire way around the bottom of the bin then cut through any remaining plastic between either with the drill or a stanley knife. Remove the base.

5. More drilling! now drill holes all the way around the outside of your bin leaving a few inches at the top where your bin will protrude from the ground. You do not want holes there. These are to allow the worms in and the compost out into your garden, so be sure to make plenty.

6. Put your bin in your garden hole. Layer the bottom with gravel and or sand for drainage (you don't need much). Next add a layer of dirt. We used compost from food and garden scraps compost. Be sure to wet it all down. Its great if you can get some worms in there to begin the process faster.

7. Your done! Put the lid on and admire your work.

All you need to do now is transfer your pets poop from wherever it lands each time into the composter (We have a designated garden scoop for this purpose) Every now and again add a layer of dirt wet it down and a sprinkle of your active enzymes which speed up the process of breaking down the poo. We also like to give ours a mix around once a month with a spade to help the process.
T H E E N D O F P O O P I E G A R D E N .
Subscribe
Sign up to get the latest on sales, new releases and more …

